Top Tech Leaders Share 2025 Video Predictions
VMblog posted a 2025 predictions video featuring Margaret Hoagland, among other industry leaders!Margaret Hoagland, VP of Global Sales and Marketing at SIOS Technology, forecasts that IT generalists will take on greater responsibility for critical applications and databases management, driving demand for more automated and user-friendly HA and DR solutions.
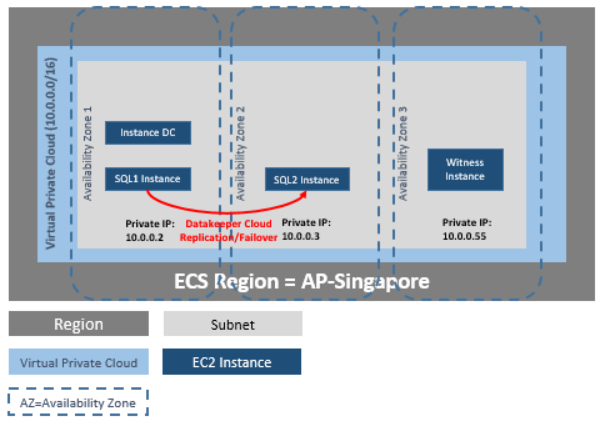
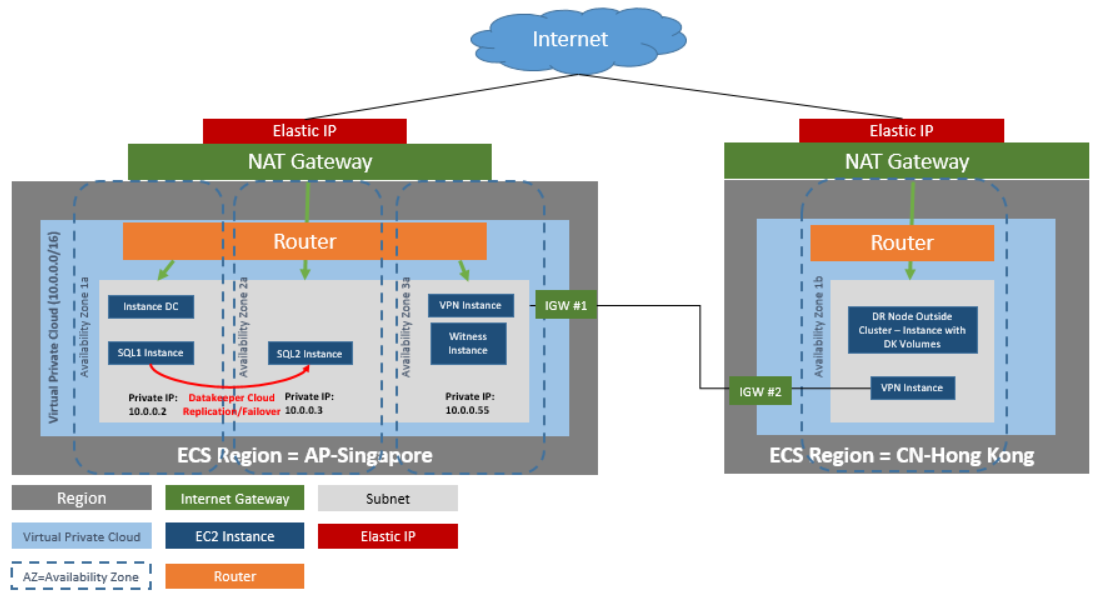
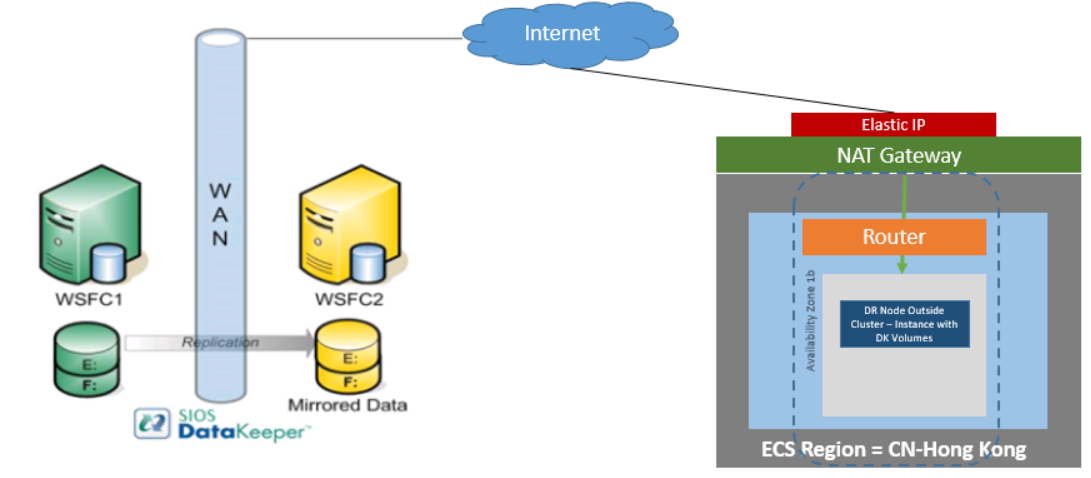
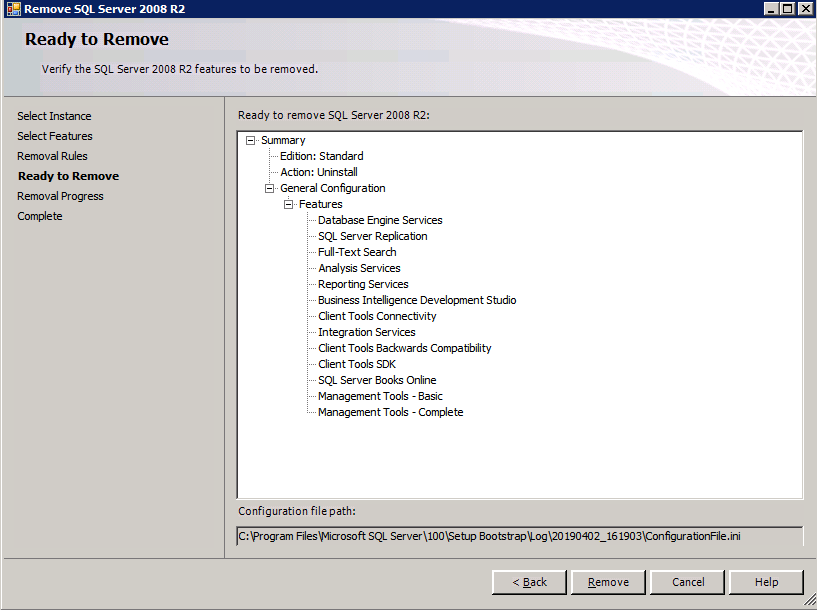
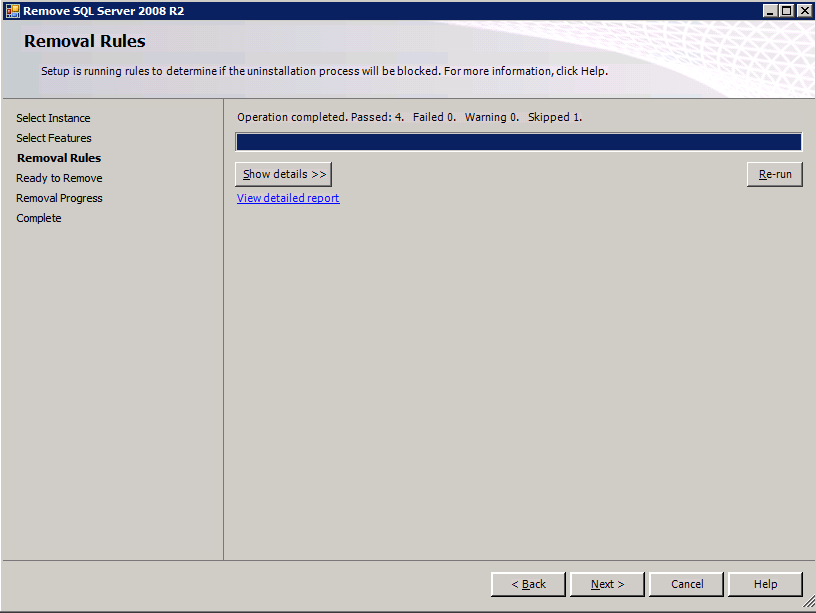
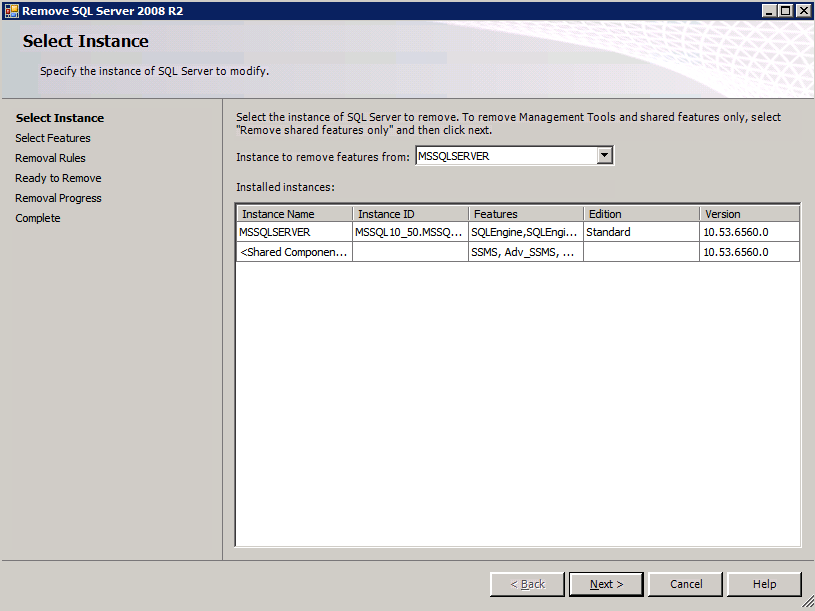
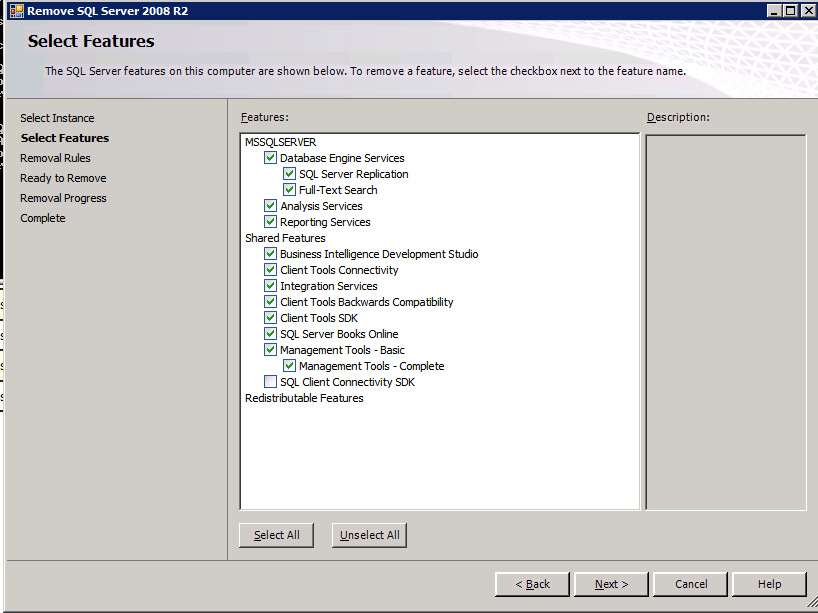
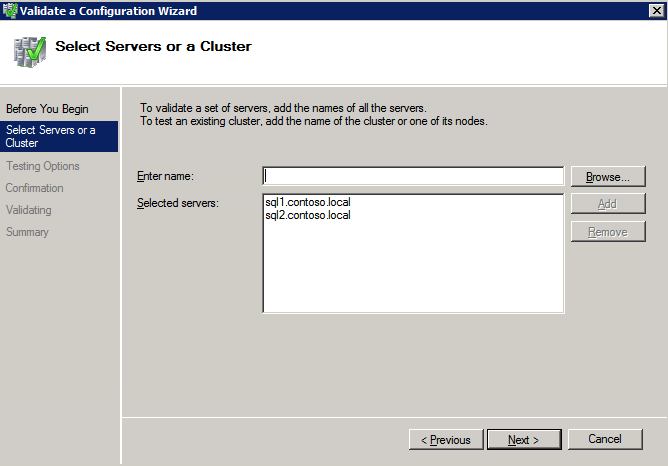
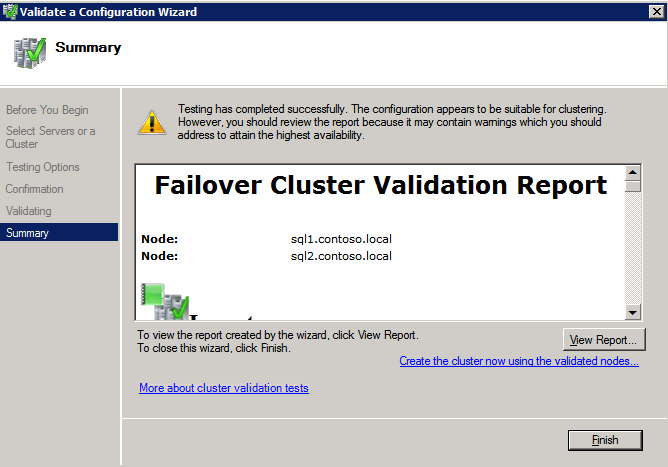
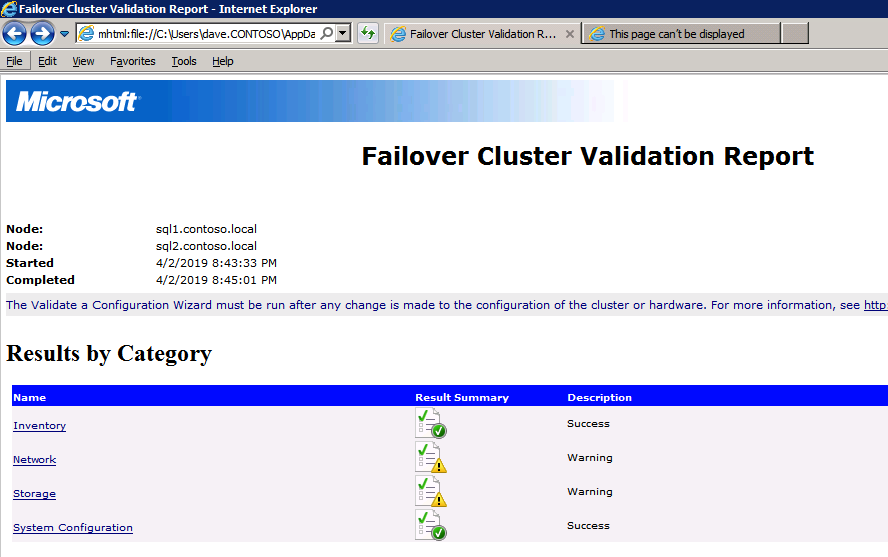
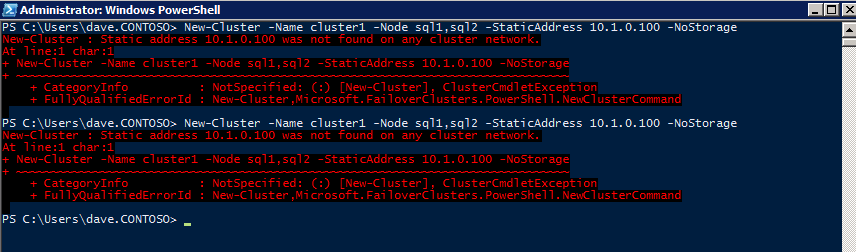
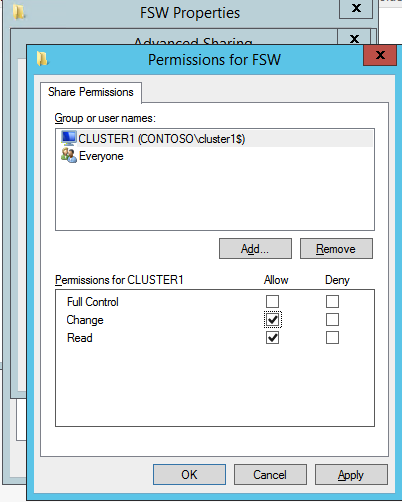
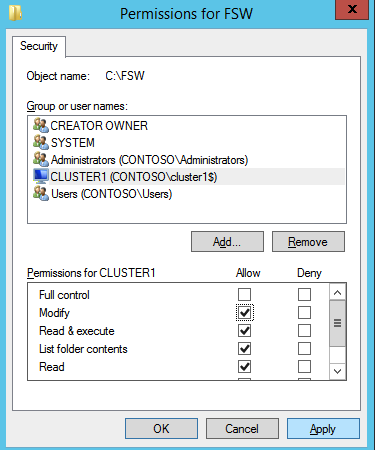
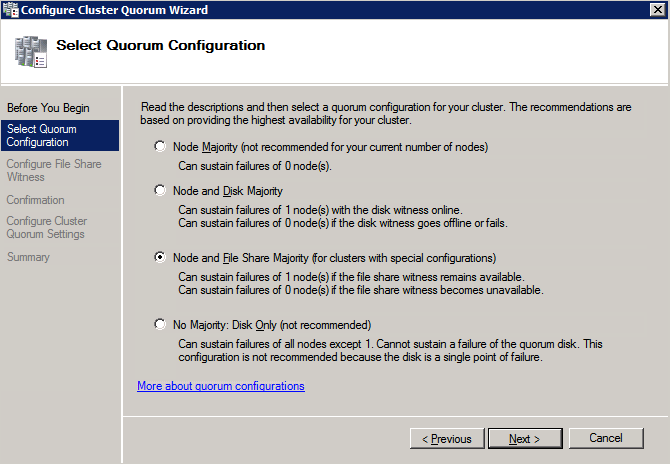
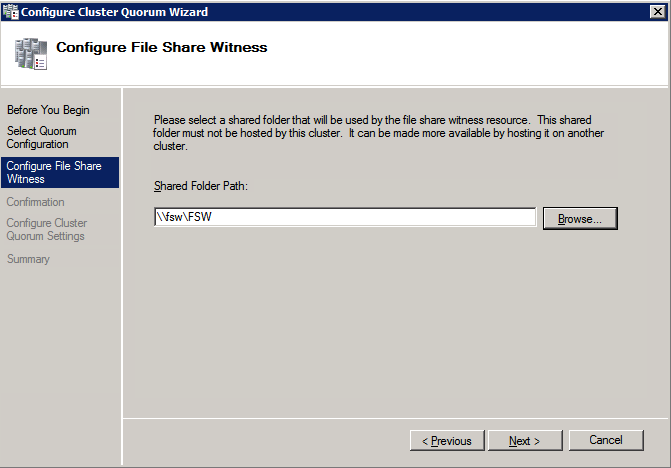
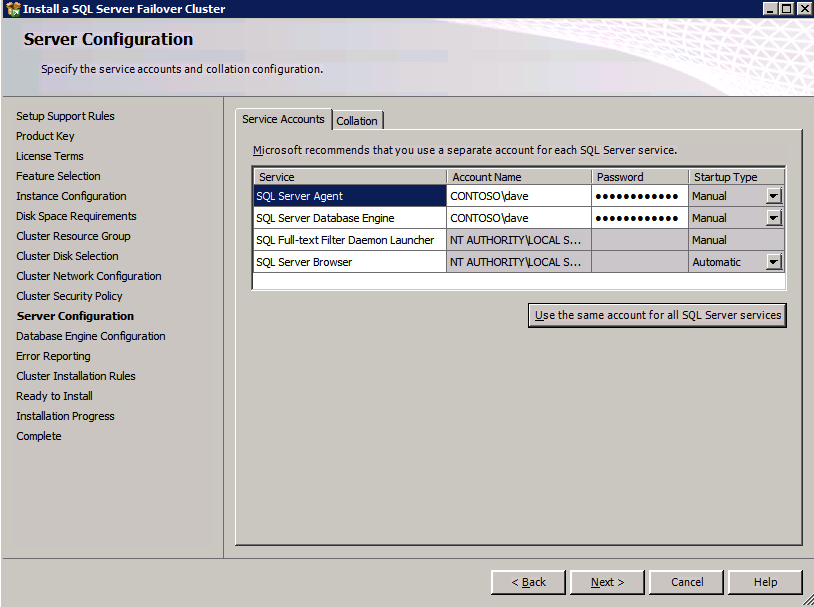
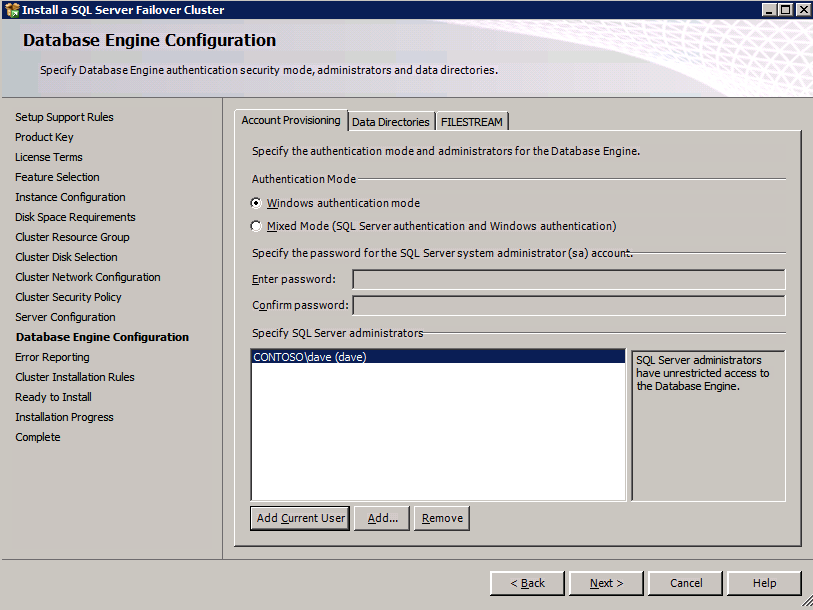
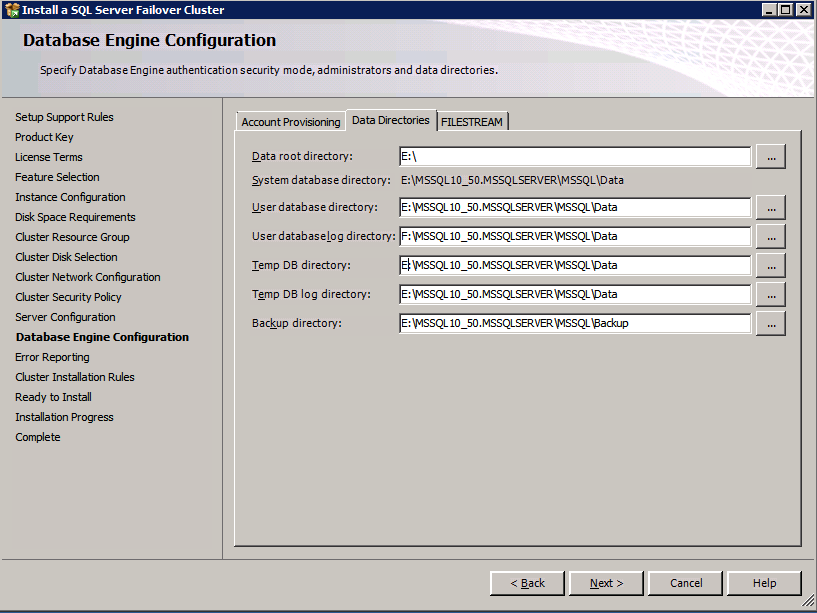
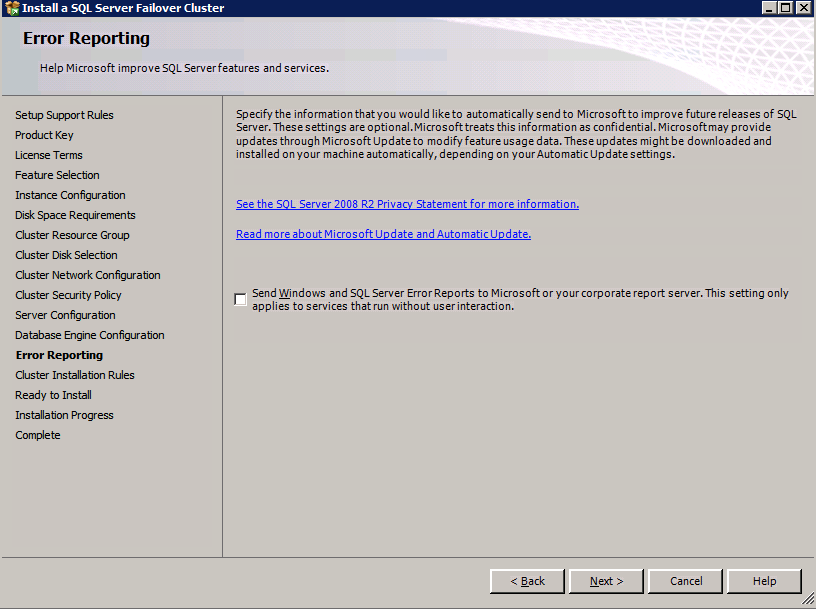
Reproduced with permission from SIOS